01
Trace The Problem
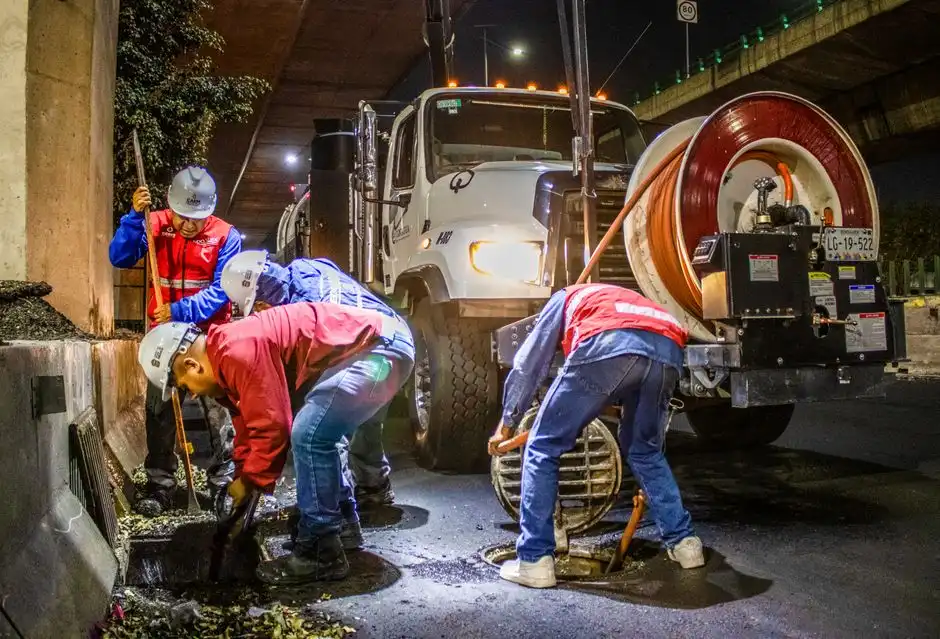
We ask what changed, check affected fixtures, and inspect visible piping for corrosion, staining, or movement. A pressure gauge helps us compare operating pressure with the reported symptoms; a video camera inspection system is used when the concern involves an accessible drain or sewer line. The initial assessment often takes 30 to 90 minutes, depending on access and the number of symptoms.
02
Set The Replacement Scope
We identify the failed section, connection style, pipe material, and the route needed for a durable replacement. You hear whether a localized repair is sufficient or whether adjacent pipe is also compromised. We explain the expected shutoff, access work, and price before starting, then protect the nearby floor, cabinet, or work area.
03
Isolate And Remove
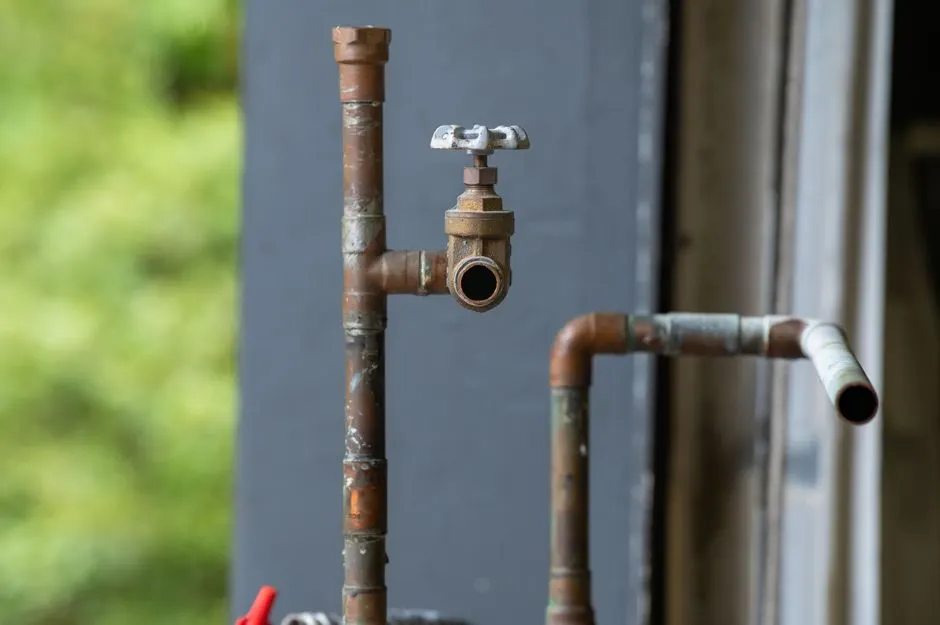
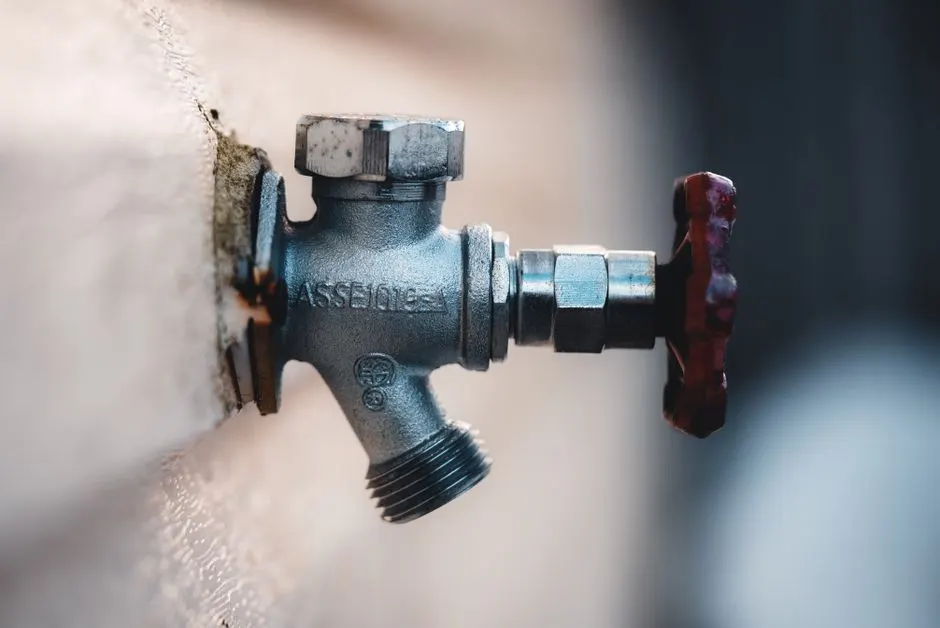
Our team shuts off the affected supply and drains the line to control water during removal. A pipe cutter and pipe wrench help remove the failed section cleanly; concealed pipe may require careful opening of a wall or ceiling. The removal stage commonly takes one to several hours, with the duration tied to access, pipe length, and finish materials.
04
Install Compatible Pipe
We fit the replacement to the existing system and approved application, using copper pipe or PEX tubing for suitable water-supply work and PVC pipe or ABS pipe where the drain system calls for it. We secure pipe fittings, make sound joints, and protect transitions from strain. We follow the applicable Uniform Plumbing Code requirements and the work's local permitting needs.
05
Test And Restore
We restore water gradually, check each new connection for leaks, and verify pressure and fixture operation before closing the work area. You can run taps and flush fixtures while we confirm service is back. We explain the replaced route, any access restoration still needed, and simple maintenance steps before we leave.