01
Confirm the assembly
We locate the device, record its make, model, size, serial number, and installation setting when visible, then confirm the applicable test procedure. You can point out the notice or prior report so we match the property details. Clear access around the assembly speeds this step and reduces the chance of disturbing nearby equipment.
02
Inspect visible condition
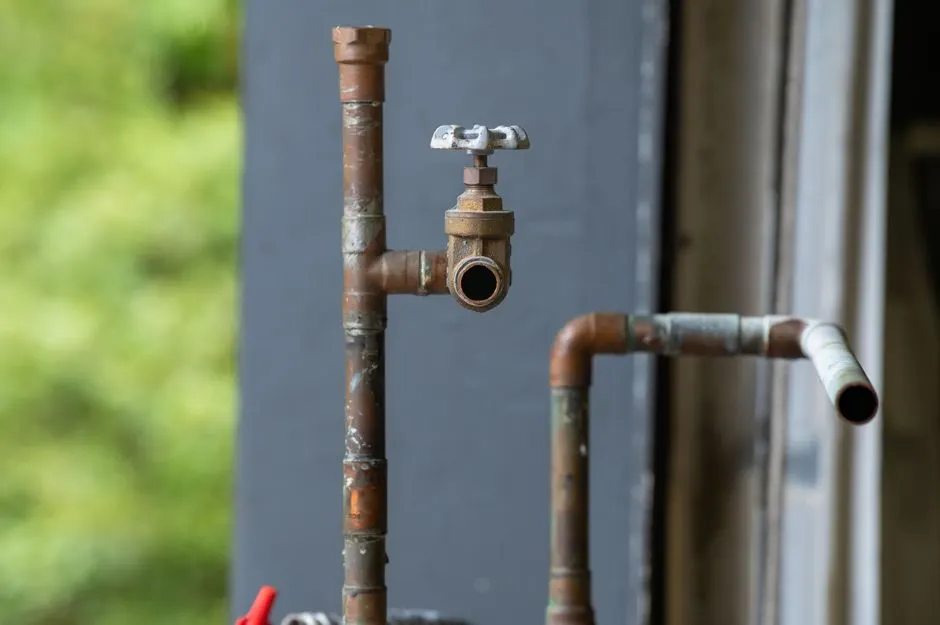
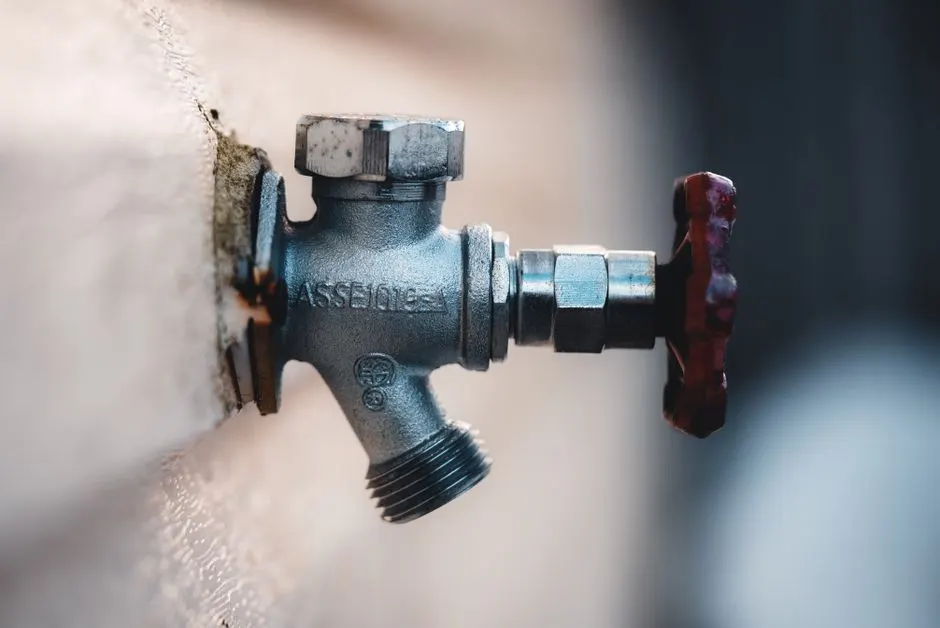
Before testing, we check the body, shutoff valves, fittings, and discharge area for leaks, corrosion, damage, or blocked access. We use a pipe wrench only where a connection requires careful handling, and we avoid forcing a seized valve. If a shutoff will not operate safely, we explain the issue before proceeding.
03
Measure performance
We connect a calibrated pressure gauge and follow the test sequence for the assembly type, checking differential pressure and relief operation as required. The readings show whether the internal checks are holding under test conditions. You can expect this measurement stage to take about 15 to 30 minutes on an accessible, serviceable unit.
04
Explain the result
We review each reading with you and identify a pass, a failed component, or a condition that prevents a valid test. If the assembly fails, we explain whether cleaning, adjustment, parts, or replacement is the logical next step. You get the reason in plain terms, not just a number on a form.
05
Document and restore
After testing, we return valves to their proper positions, check for leaks, and prepare the test documentation for the property record or required submission route. We confirm that water service is restored and tell you when to schedule the next test based on the applicable requirement. Keep the report with your plumbing records.